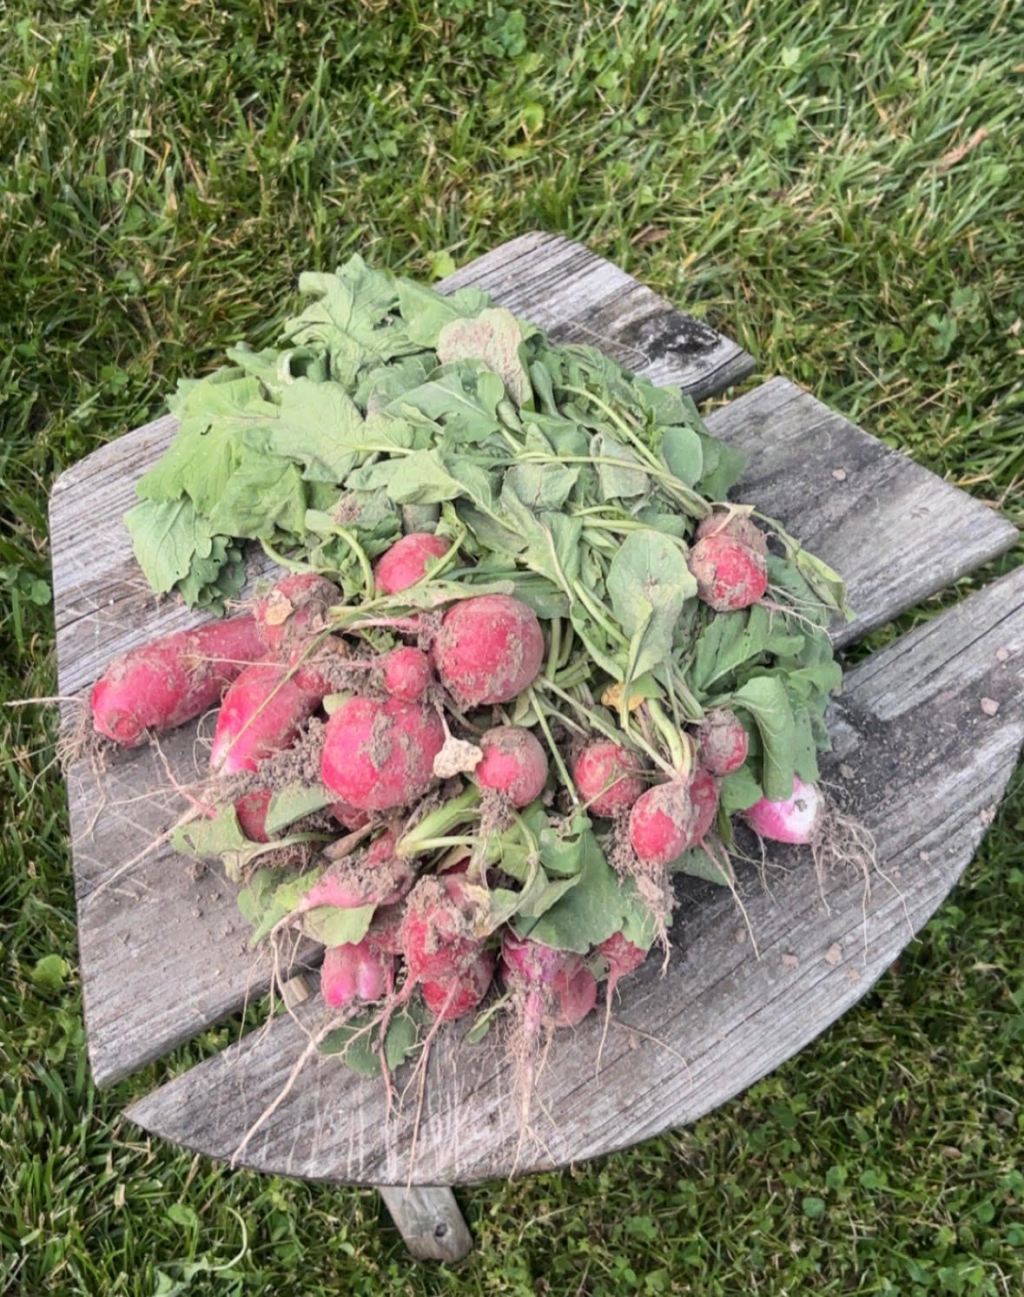
You may be planning to start a garden, or you may be looking to add something new to your current garden. In either case, radishes are an excellent vegetable to grow. They are among the easiest, fastest, and most flexible vegetables to cultivate. Let’s dive into this step-by-step guide.
Step 1: Choose Which Radish Variety You Want to Grow
Decide whether you will grow radishes as a cool-season crop in spring or in late summer for fall and early winter harvests, depending on your local climate.
- Many small, fast-maturing spring radish varieties are ready in about 21–30 days in suitable conditions. Common options include Cherry Belle, Easter Egg, Purple Plum, Champion, and others.
- Larger, slower-maturing radish types often grown for fall and winter harvest—such as Daikon, Watermelon Radish, and Chinese radish—generally take about 4–10 weeks (28–70 days) to reach harvest size, and many of these can grow larger than typical spring radishes.
Step 2: Choose the Right Planting Time: Spring or Fall
You can plant radishes in both spring and late summer for fall harvest, but timing should be based on your local climate and the crop’s preferred cool weather.
For a spring crop, sow radish seed as soon as the soil can be worked and is no longer waterlogged, typically a few weeks before your area’s average last spring frost date.
For a fall crop, sow radishes in late summer so they can grow and mature during the cooler weather of early fall, adjusting specific dates to your region’s first expected fall frost and heat patterns.
Avoid planting during hot mid-summer weather, because heat stress can cause radishes to bolt (flower early) and develop stronger flavor or poor root quality.
Step 3: Prepare the Soil
Radishes require loose, well-drained soil so their roots can expand. Loosen the soil at least 6–8 inches deep, remove rocks and clumps, and mix in compost for nutrients if needed. If the soil remains compacted, radish roots may become poorly formed or stunted.
Step 4: Plant the Seeds
Radishes are usually direct sown; plant the seeds about ½ inch deep. Space seeds about 1 inch apart in rows 8–12 inches apart. After planting, cover the seeds with soil and water gently but thoroughly.
Step 5: Water Consistently
Radishes need consistent, even moisture to grow well. Keep the soil moist but not soggy; in many gardens this means watering several times per week, increasing frequency during dry or windy periods as needed.
Step 6: Thin the Seedlings
Once the seedlings reach 1–2 inches tall, thin them so the remaining plants are spaced about 2 inches apart.
Step 7: Care and Maintenance
Radishes are relatively low-maintenance, but it is still important to mulch lightly, control weeds, and water as needed. Watch for pests such as flea beetles and root maggots, which can damage radish leaves or roots; however, because radishes grow quickly, catching and addressing problems early usually limits serious loss.
Step 8: Harvest at the Right Time
Radishes mature quickly under good growing conditions:
- Many small, spring-type varieties: about 20–30 days.
- Many larger fall and winter types (such as daikon): about 50–70 days.
Harvest when the roots reach the desired size—often around 1 inch across for many spring types, and larger for winter types—before they become woody or overly hot. Gently pull them from the soil by the greens.
Step 9: Store Your Freshly Grown Radishes
Once harvested, you are ready to store your radishes. Keep the following points in mind for best quality:
- Remove the green tops soon after harvest, as the leaves can draw moisture from the roots and cause the radishes to soften.
- Store trimmed radishes in your refrigerator’s crisper drawer in a sealable plastic bag with a slightly damp paper towel to help maintain moisture and crispness.
Congratulations—you have taken the first steps toward growing your own radishes!



Leave a Reply